It’s almost too easy.
Whether you’ve stocked up on lightweight dry sacks for your thru hike or brought some burly dry bags on your kayaking adventure, punctures, tears and breaks can happen anywhere. Luckily, most damage to your dry storage can be easily fixed.
REPAIR A HOLE IN A DRY SACK OR DRY BAGS
We design a variety of dry bags for a number of different uses, and use several types of fabric in the process. Most of them can be permanently repaired using a combination of Gear Aid products—Seam Grip and Tenacious Tape, which are available at all good outdoor and hardware stores.
To patch non-siliconised fabrics: Use Gear Aid Seam Grip+WP
USE FOR: Lightweight Dry Sacks | eVac™ Dry Sacks | Big River Dry Bags| Stopper™ Dry Bags | Hydraulic™ Dry Bags | Nylon Stuff Sacks| Nylon Compression Sacks | Folding Buckets | Kitchen Sink | First Aid Dry Sack
To patch siliconised fabrics: Use Gear Aid Seam Grip+SIL
USE FOR: Ultra-Sil™ Dry Sacks | Ultra-Sil™ eVent Compression Dry Sacks | Ultra-Sil™ Folding Buckets | Ultra-Sil™ Kitchen Sinks
You will also need:
- Isopropyl alcohol
- Climbing chalk or talcum powder (optional)
Follow the instructions below for a simple repair of holes up to about 20mm (3/4″) across or tears up to about 40mm (1 1/2″) long on these Junyuan Bags products:
INSTRUCTIONS
- Clean both sides of the fabric around the hole or tear with isopropyl alcohol.
- Turn the dry sack inside out.
- With the dry bag flat, stick a piece of Tenacious Tape across the hole to cover the hole or seal the tear-line back together (don’t forget to round the corners of the tape to stop it peeling).
- Turn bag right-side out.
- Spread a blob of (the right kind of) Seam Grip across the area you’re repairing. Make sure that the Seam Grip overlaps the hole by about 15mm/half an inch. Don’t let any other part of the dry sack touch the Seam Grip until it dries—it will stick and won’t be removable.
- Allow the Seam Grip to dry and cure for 12–24 hours.
- Once it’s dry, you may want to lightly dust the Seam Grip with climbing chalk or talcum powder before you pack the sack away to avoid the repair sticking to the remaining fabric, but this is optional.
REPAIR A DRY BAG BUCKLE
No matter how well-made, a plastic buckle can sometimes get damaged. Luckily, our Field Repair Buckles make it easy to replace a buckle on any Junyuan Bags dry bag in the field—without any sewing.
With the help of a Field Repair Buckle and trusty screwdriver, you can repair any Junyuan Bags dry bag (which already come with a Field Repair Buckle), from the ultralight Ultra-Sil™ Nano™ dry sack to a burly Hydraulic™ dry bag.
Which buckle do I need?
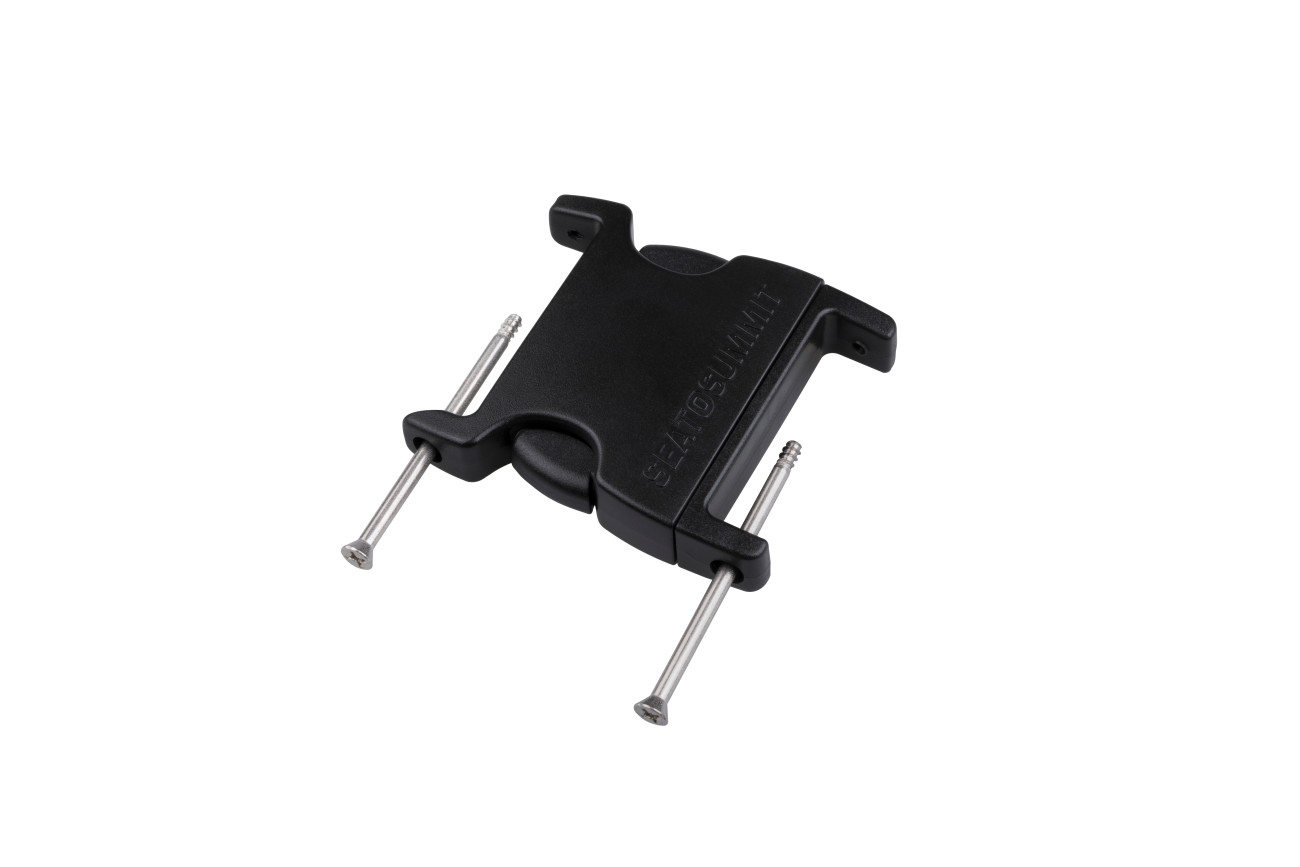
Two-pin side release buckles are a direct replacement for non-adjustable buckles, commonly found on dry bag closures and some backpack waist belts. They are not adjustable.
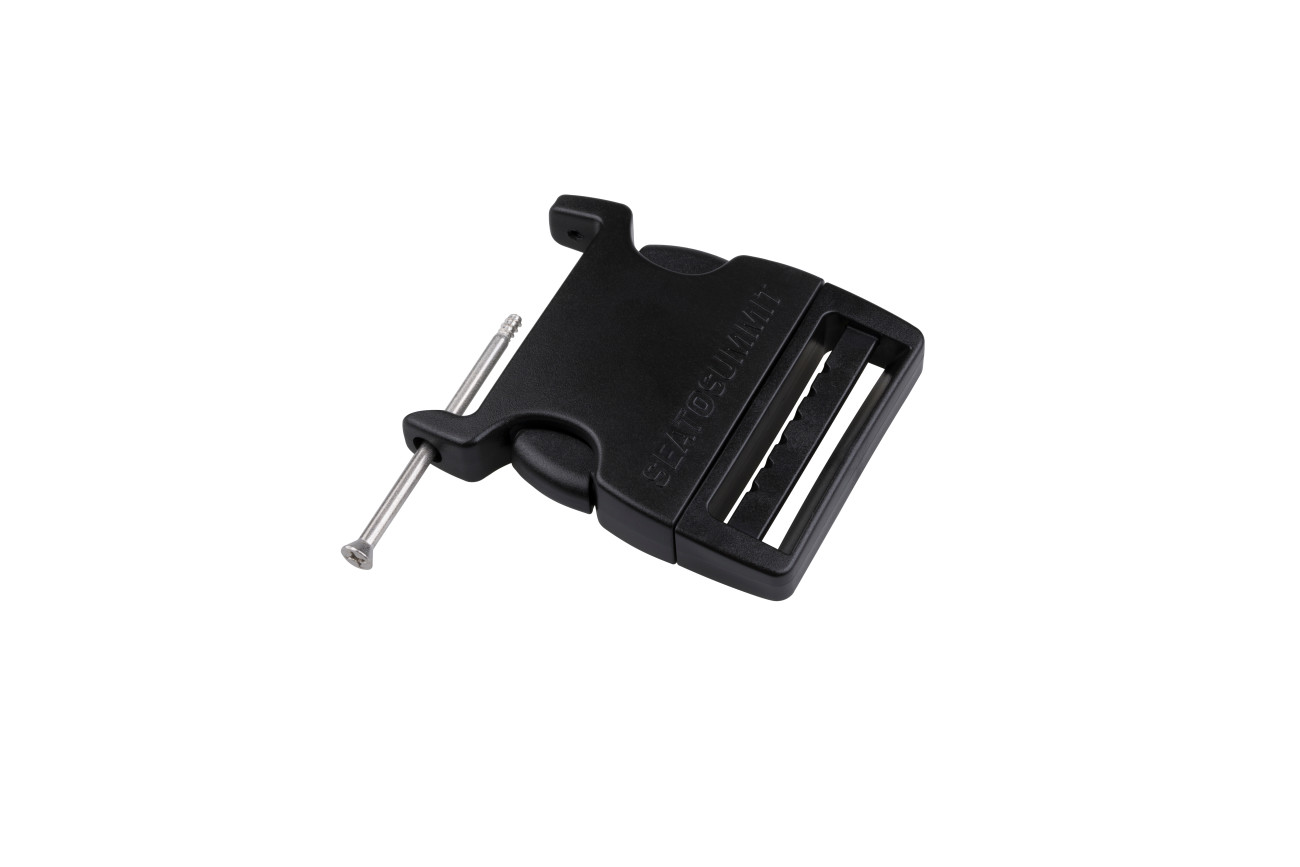
One-pin side release buckles replace closures found on most top-loading backpacks, daypacks, messenger bags, PFDs, bike bags etc. They have one fixed end and one ladderlock end. The ladderlock allows you to thread through a webbing strap which can then be tightened or loosened.
FEATURED PRODUCTS

Field Repair Buckle – Side Release 1 Pin
VIEW DETAILS
Field Repair Buckle – Side Release 2 Pin
VIEW DETAILSPIN FOR LATER

Ten articles before and after
Yes, synthetic sleeping bags are a great choice – JUNYUAN Bags
How to choose the best sleeping bag for you – JUNYUAN Bags
Sleeping cold: Why your sleeping bag isn't keeping you warm – JUNYUAN Bags
Which dry bag should I choose? – JUNYUAN Bags
Why every camper should be using a sleeping bag liner – JUNYUAN Bags
Why campers love down sleeping bags – JUNYUAN Bags
How to wash a synthetic sleeping bag – JUNYUAN Bags
How to wash a down sleeping bag – JUNYUAN Bags
19 Things I’ve learned while bikepacking the world – JUNYUAN Bags


 Mobile/What's App/Wechat
 E-Mail
 ADD
ADD


