Hi lovelies,
You should have bought your supplies and cut everything out ready now, today we’re going to sew!
For part one with the supplies and cutting list, please see this post.
Because we’re lining the bag, we won’t be using self bound seams.
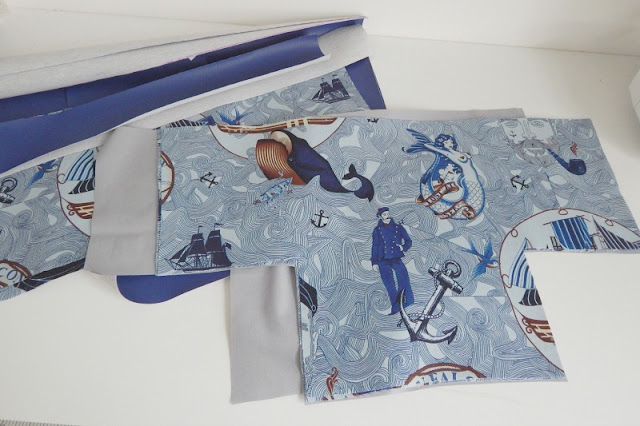
We’ll start with the outer pockets.
You should have cut 4 outer pockets, two from your lovely outer fabric, and two from your lining fabrics. I used a solid for my linings.
Sew the outer and linings together using a scant 1/4″ seam allowance along the top of the pockets, right sides together.
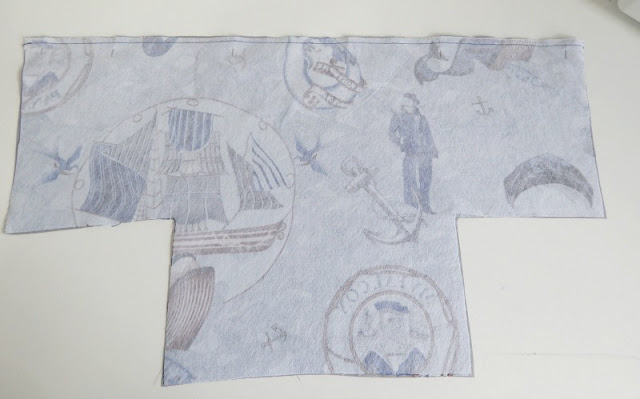
Turn the pockets right sides out, and press the top seam so that it sits nicely.
Then topstitch 1/8″ and 5/8″ from the top seam to form the elastic casing.
You may wish to baste around all of the sides of the pockets to keep them together later on. I didn’t and I should have!
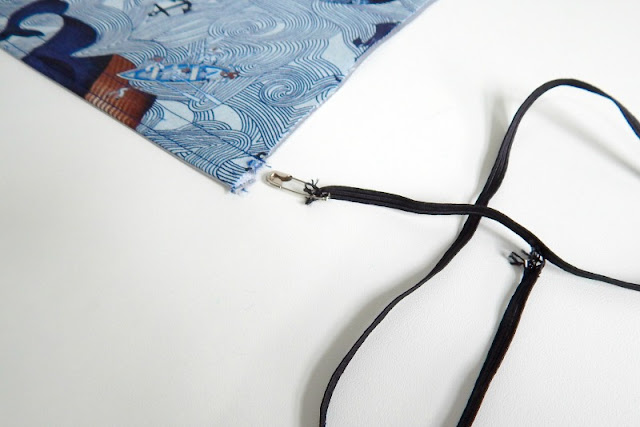
Then using a small safety pin, thread the elastic through the casing.
I’ll be using a different method to attach the pockets to the outer, because cotton is less forgiving than mesh, so I don’t want any risk of height difference.
I’m also not using bound seams because I’ll be lining the bag, so they can be sewn this way.
I worked out which edges of the pockets I wanted to be the front, and joined them together, making sure the top edges matched as best I could. I sewed these together with a 1/8″ seam allowance.
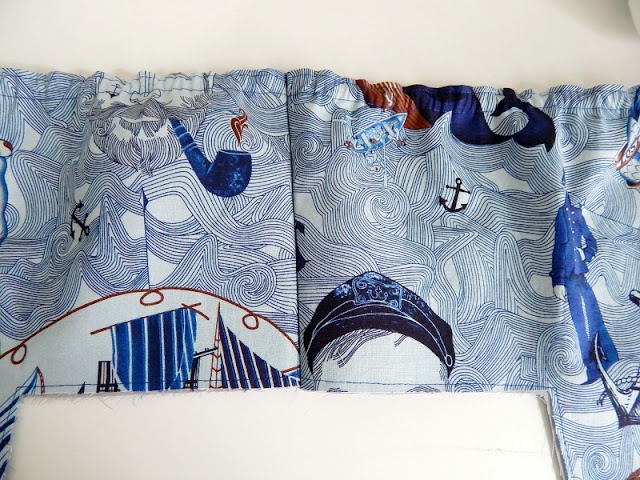
With them closed right sides together, I basted them onto one A panel. The outer bag base.
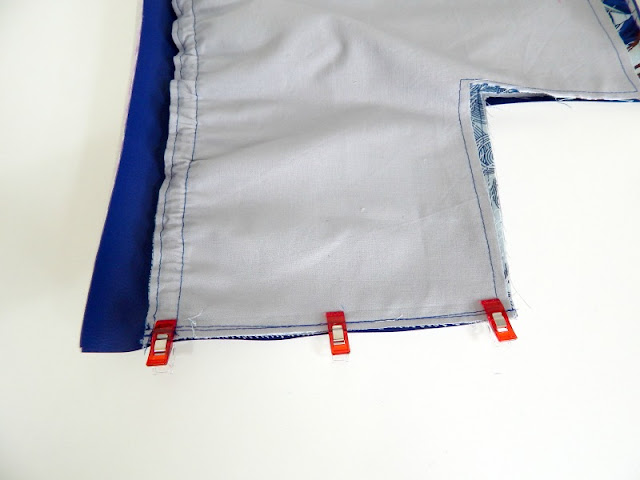
Then I laid the second A panel face down on top and sewed with a 3/8″ seam allowance.
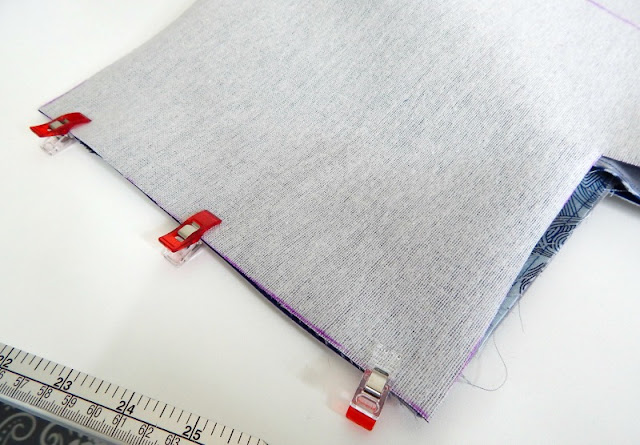
Then I opened the panel back up and basted the two raw edges of the outer pockets together, as before, but with the faux leather out of the way.
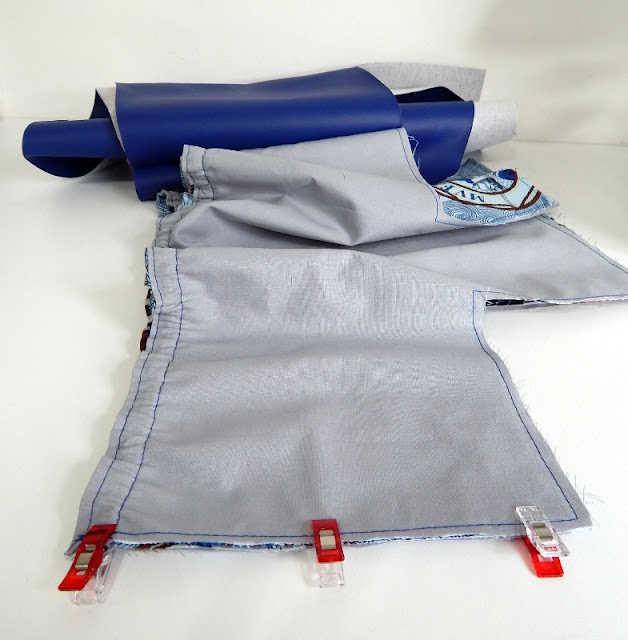
Then I enclosed them in the faux leather. You’ll need to stretch the pockets to fit the faux leather because of the elastic in the casing.
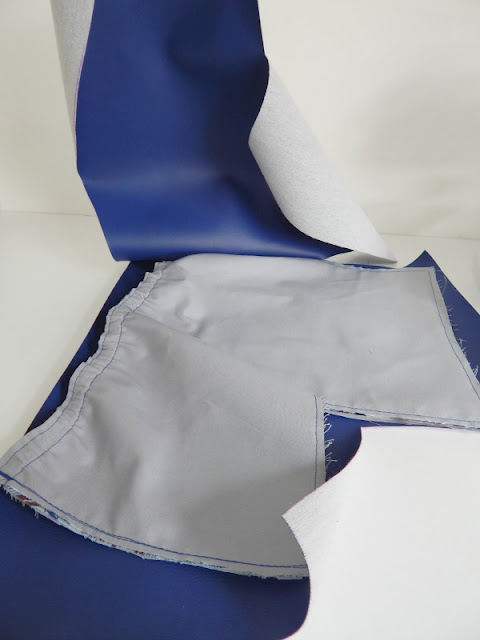
Once both side seams are sewn, flatten the bag out as best you can and pop a couple of weights (coffee cup, spray bottle etc) on the top part to keep it flat.
Now the pocket piece (E) has been shaped to take into account the natural stretch in the mesh, so you’ll need to trim your bag to match the pieces together, as quilting cotton doesn’t stretch the same.
Simply lift one layer of faux leather and one layer of pockets, and trim any excess away from the underneath layers so they match. Then turn the panel over and repeat.
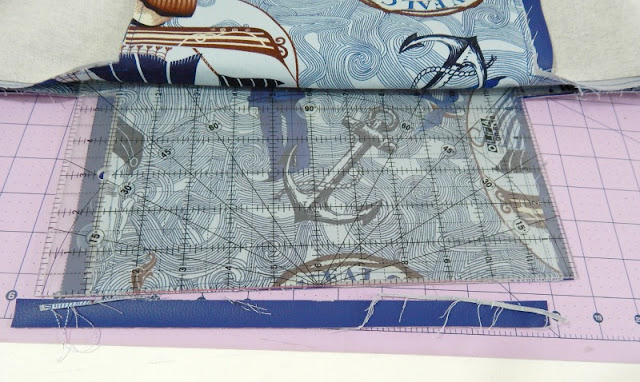
Now you can sew the bottom seam, catching all four layers inside, the two faux leather, and two pockets.
Stop here and we’ll finish our bags on Sunday!
Ten articles before and after
Blog – Favourite bags for summer! Sewing Patterns by Junyuan bags
Blog – Swimming Jim Sew Along {Part 3 – FInishing} Sewing Patterns by Junyuan bags
Blog – Amanda…writes Product Descriptions Sewing Patterns by Junyuan bags
Blog – Super Simple Summer Tote Tutorial! Sewing Patterns by Junyuan bags
Blog – Convert the Summer tote into a Wine Tote Sewing Patterns by Junyuan bags
Blog – Waterproofing experiments Sewing Patterns by Junyuan bags
Blog – Introducing the Swimming Jim Pattern Hack sew along! Sewing Patterns by Junyuan bags
Blog – How to add Fold over Elastic to the top of Mesh Pockets Sewing Patterns by Junyuan bags
Blog – The Magnificent Marvellous Momentous Mrs-H.com Sewing Patterns by Junyuan bags


 Mobile/What's App/Wechat
 E-Mail
 ADD
ADD


