Table of Contents
Smartphone cameras are getting pretty danged good, but there’s still no replacement for the incredible focal range, beautiful depth of field, beefy sensor size, and ultra high quality of a DSLR camera and lens kit. Real travel photographers and professional digital nomads know that truly next-level travel photos only happen with a DSLR camera.
But traveling with fragile, heavy expensive DSLR camera isn’t awesome—unless you know what to bring, what not to bring, and how to pack your DSLR camera gear safely in a travel backpack. Here are 9 ways to travel with a DSLR, and some of the best lenses, travel accessories, and gear you need to take great pictures on the road.
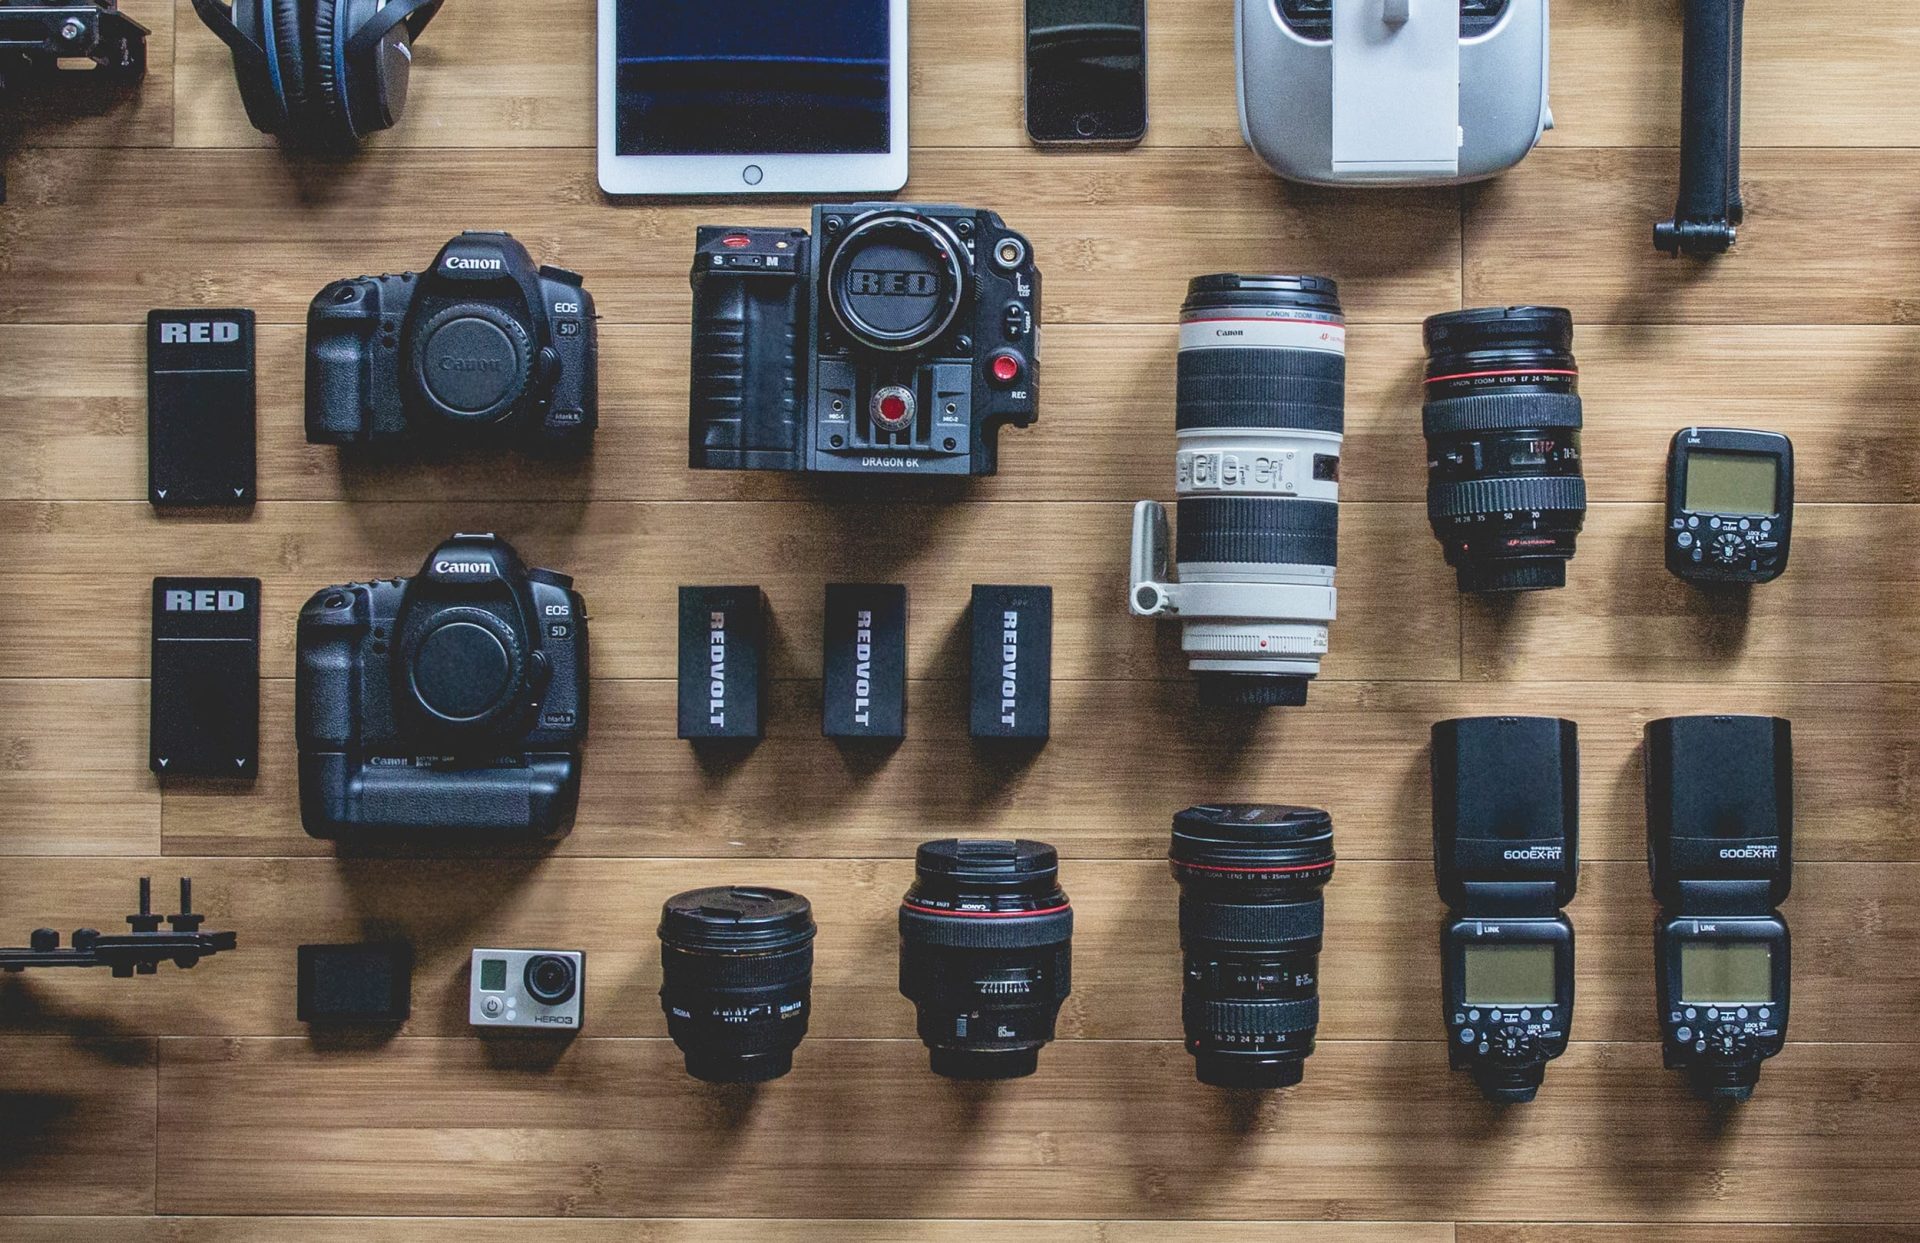
9 Rules for Packing a DSLR Camera in Your Carry On Bag
Rule #1: Don’t Check Your Camera Gear
It doesn’t matter if it’s a $99 point and shoot or a Canon EOS 5D Mark IV. Cameras are expensive, fragile tools with glass lenses, electronic sensors, and thousands of moving parts. They don’t belong in a checked bag. Ever.
Also, don’t worry about X-ray scanners. Security screenings don’t affect digital cameras or your memory cards. If you still shoot on film (way to go), tell security when you get to the conveyer belt and ask for your bag to be hand searched. Traveling with film is a pain, but true artists suffer for their craft.
Rule #2: Take Everything Apart. Every. Single. Time.
You have to break your camera down to its constituent parts before you pack everything away. That means taking off the lens and screwing on all the caps and separating everything. Yes, every time. Breaking down your gear can be painstaking, but it’s also a fundamental part of having expensive gear.
Leaving the lens on can damage the mounting threads, which essentially makes your expensive modular camera worthless. If you can’t change lenses, you don’t have a functional DSLR. Don’t be a monster. Take the lens off your camera, at least when you know you’re going on a long flight or bumpy bus ride. Your camera is designed to be taken apart, and it travels better when the pieces are separate.
Rule #3: Keep ’Em Separated
Once everything is taken apart, it’s time to divide everything up. And I mean, everything. Lenses shouldn’t be touching one another. The camera body should be safe and sound in its own little cocoon. Every piece of gear needs a physical buffer from every other piece of gear. This separation is why camera bags typically get so bulky so fast. When you add a lens or filter or flash attachment you have to add four walls to contain each item. Be super obsessive about separating your camera gear. Scratched lenses suuuuuuck.
Rule #4: Tighten Up
Once everything is take apart, double check that all the cases, lens caps, covers, and straps are snug. Then secure any loose items like batteries, SD cards, lenses, and all the bric-a-brac that comes along with mobile photography. I like to keep all my “non-camera, camera gear” in a separate bag. It keeps loose items from rattling around and scratching up your expensive lenses. It sounds obvious, but you should be able to give your carry on bag, or camera bag a shake and open it up without noticing any movement in your packed camera gear. Be obsessive about this
Travel Photography Pro Tip: Travel with a camera that charges via a micro USB slot. I use the Panasonic Lumix DMC LX100 for a lot of my travel videos—mostly because I can leave the spare battery at home thanks to the micro USB charging port. I plug it in at night and it’s good to go.
Rule #5: Reuse Silica Gel Packs to Avoid Moisture
This tip is more of a travel camera “hack,” than a rule, but it works, so who cares. You know those little silica gel packs that were in the box when you opened your camera? Those weird little bean bags that say “do not eat” are super important. They’re in the box to absorb any moisture that may have accumulated when your camera shipped thousands of miles to get to you. So why would you throw them out?
Pack one or two little silica gel packs in your camera bag and rest assured that they’ll trap moisture that gets in during transit. They won’t keep your camera safe from a waterfall, but they’ll protect against condensation that can happen at high altitudes and with drastic temperature changes—and that’s a big deal. Plus, they’re free and don’t weigh anything. Score.
Rule #6: Pack a Variable ND Filter
A lot of the bulk and hassle of traveling with a DSLR can be solved with an ND filter. If you’re unfamiliar, an ND filter stands for “neutral density filter” and it’s basically like slapping a pair of sunglasses over the lens of your camera. This filter blocks the amount of light that hits your camera’s sensor (without changing the color of the light, aka “neutral”) allowing for interesting effects, like longer exposures.
Essentially, ND filters give you a whole new tool kit to explore without adding any heavy gear to your travel photography bag. They let light in slowly so you can keep the aperture nice and wide without blowing out your photos and video. It takes some getting used to, but a decent 2-8 stop variable stop ND filter can be a next level piece of travel camera gear. Just experiment with it.
Rule #7: Ditch the Extra Accessories
Do you really need a flash? And a filter? And a spare, spare, spare battery? And a backup strap? And three different ND filters? Maybe you do and maybe you don’t, but remember that every trip is different. You shouldn’t pack the same camera gear for every adventure.
Strip your travel camera gear down to the essentials that you need for this trip. You probably don’t need every single lens in your camera bag to shoot a few landscapes, so don’t bring them all. Think about when you’re likely to be shooting (early morning, afternoon, night time) and your subject matter (portraits, landscape, interiors), then bring only what you need.
It’s important to limit your travel photography kit—even for a DSLR. Bringing every lens you own won’t ensure that you get the best shots. It only means you’ll have more heavy, expensive gear to weigh you down and keep you from getting that perfect pic. Every lens you bring is another expensive, fragile liability. Pick and choose, then get creative with what you’ve got.
Rule #8: Organize Your Cords
Every DSLR has a touch screen that can get damaged, and one of the biggest culprits is your charging cord. Don’t just toss your innocent seeming charging cords in your camera bag. Coil them and separate them from the rest of your gear. It’ll reduce clutter, protect your touchscreen, and make shooting and charging back up at the end of the day that much easier.
Rule #9: Get Travel Insurance
No matter how careful you are, stuff happens. Get travel insurance to cover your butt if you lose or break your camera in transit. Every DSLR travel photographer I know travels with at least some coverage. World Nomads is a solid company that covers most damage. You’ll have to make a claim so snap a photo of your receipt and store it away for any disasters.
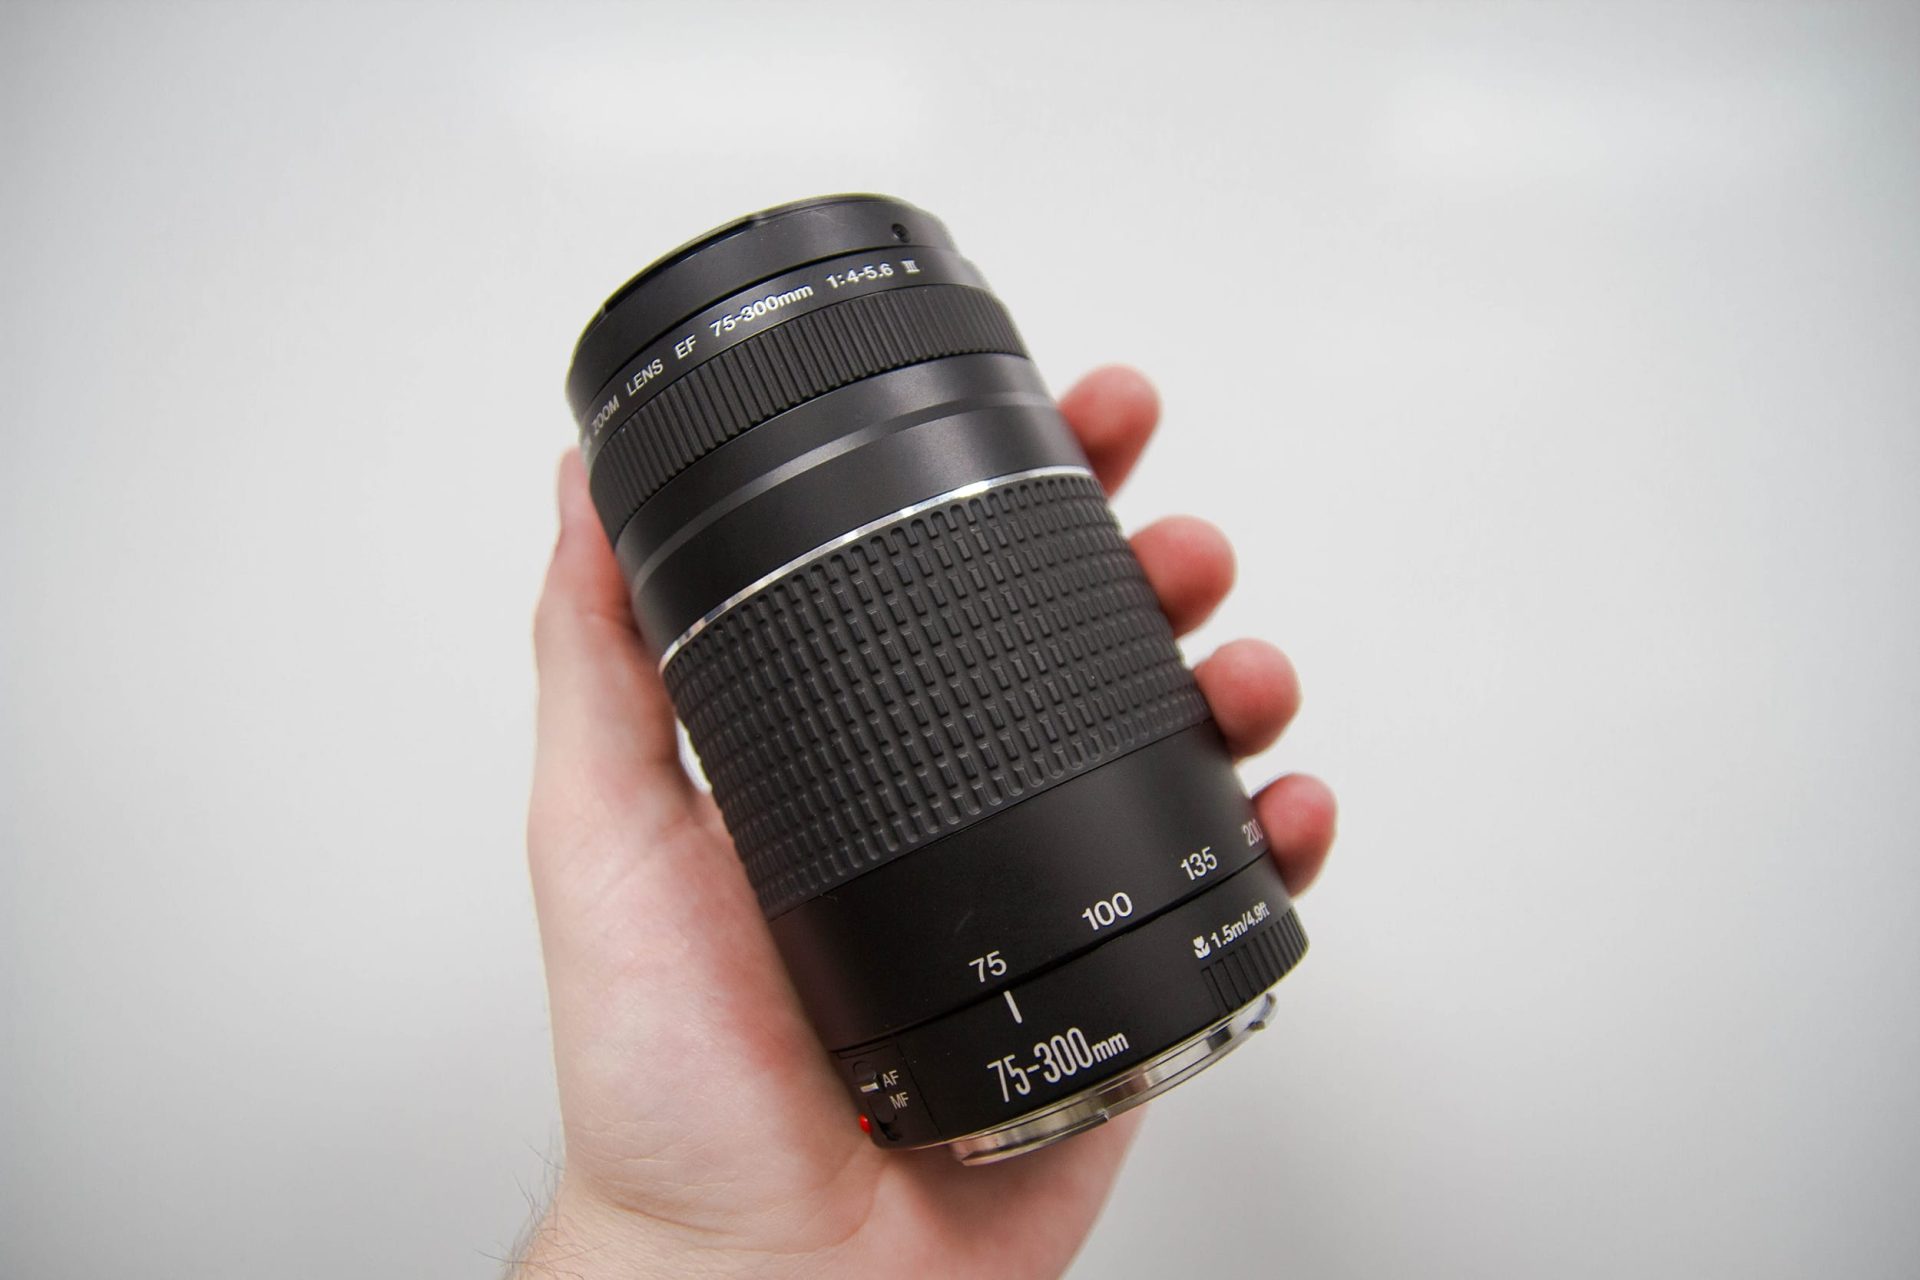
Best DSLR Lenses for Travel Photography
Try to limit your travel camera kit to two lenses:
- A fixed 35mm lens
- A variable lens (either 24-85mm or 24-105mm)
That’s it. You don’t need special “fast” lenses that take up a ton of space in your bag. And stay away from “prime” lenses (except for a 35mm lens) as they’re too narrow to give you much versatility on the road. People always want a macro lens or a superzoom lens, but unless you know you’re shooting a very specific subject, zoom and macro lenses just aren’t worth the extra weight and hassle.
A fixed 35mm or 50mm lens is good enough on its own, but a variable 24-85mm lens is a road warrior that will ensure you get beautiful portraits and wide angle landscape shots without lugging a studio in your backpack.
Best Single Utility Lens for Travel Photos: Canon 24-105mm f/4
The ability to shoot wide angle and portraits on the same lens is a big deal for travel photographers. Changing lenses on the fly isn’t always an option, so slim down your travel camera gear with a lens that can get close enough to act as a macro in a pinch (24mm will let you focus about 1.5 feet from your subject) and tops out around 85-120mm for those luscious sunset landscape shots.
- Canon makes a great 24-105mm lens, but there are tons of options for all camera setups.
- Nikon also makes a slightly lighter 24-85mm lens (at half the price of the Canon lens). It weighs in at just over a pound (that’s light for DSLR gear), but it’s a great single use travel lens for practically every situation.
Pro Tip: You can find lenses that range from 25-300mm, but they add a lot of bulk to your camera bag, as well as your actual camera. Lugging around a super zoom lens takes a toll, especially if you’re shooting hand held all day. Bigger isn’t always better. 24-70mm is a great range. It’s better to get a better quality lens that shoots a shorter spectrum than a do-it-all beast you hate packing.
35mm vs. 50mm Fixed Lens
The “Nifty 50” is the default DSLR lens for many photographers precisely because it’s super versatile. You can shoot practically anything on a 50mm lens and it will look fine. But that’s the problem—it’ll just look “fine.” If you want to use a fixed lens as part of your travel camera kit (and you should), I’d opt for a 35mm lens.
A 35mm lens is unofficially the start of “wide angle” photography, but that’s what makes it so interesting. It’s right on the edge of portrait and wide angle, and that position lets you push this lens a lot further than other fixed lenses. A 35 will force you to be more creative with how you frame each shot, and if you’re willing to work with the tiny constraint, the result will be crisper, more interesting travel photos in practically every situation.
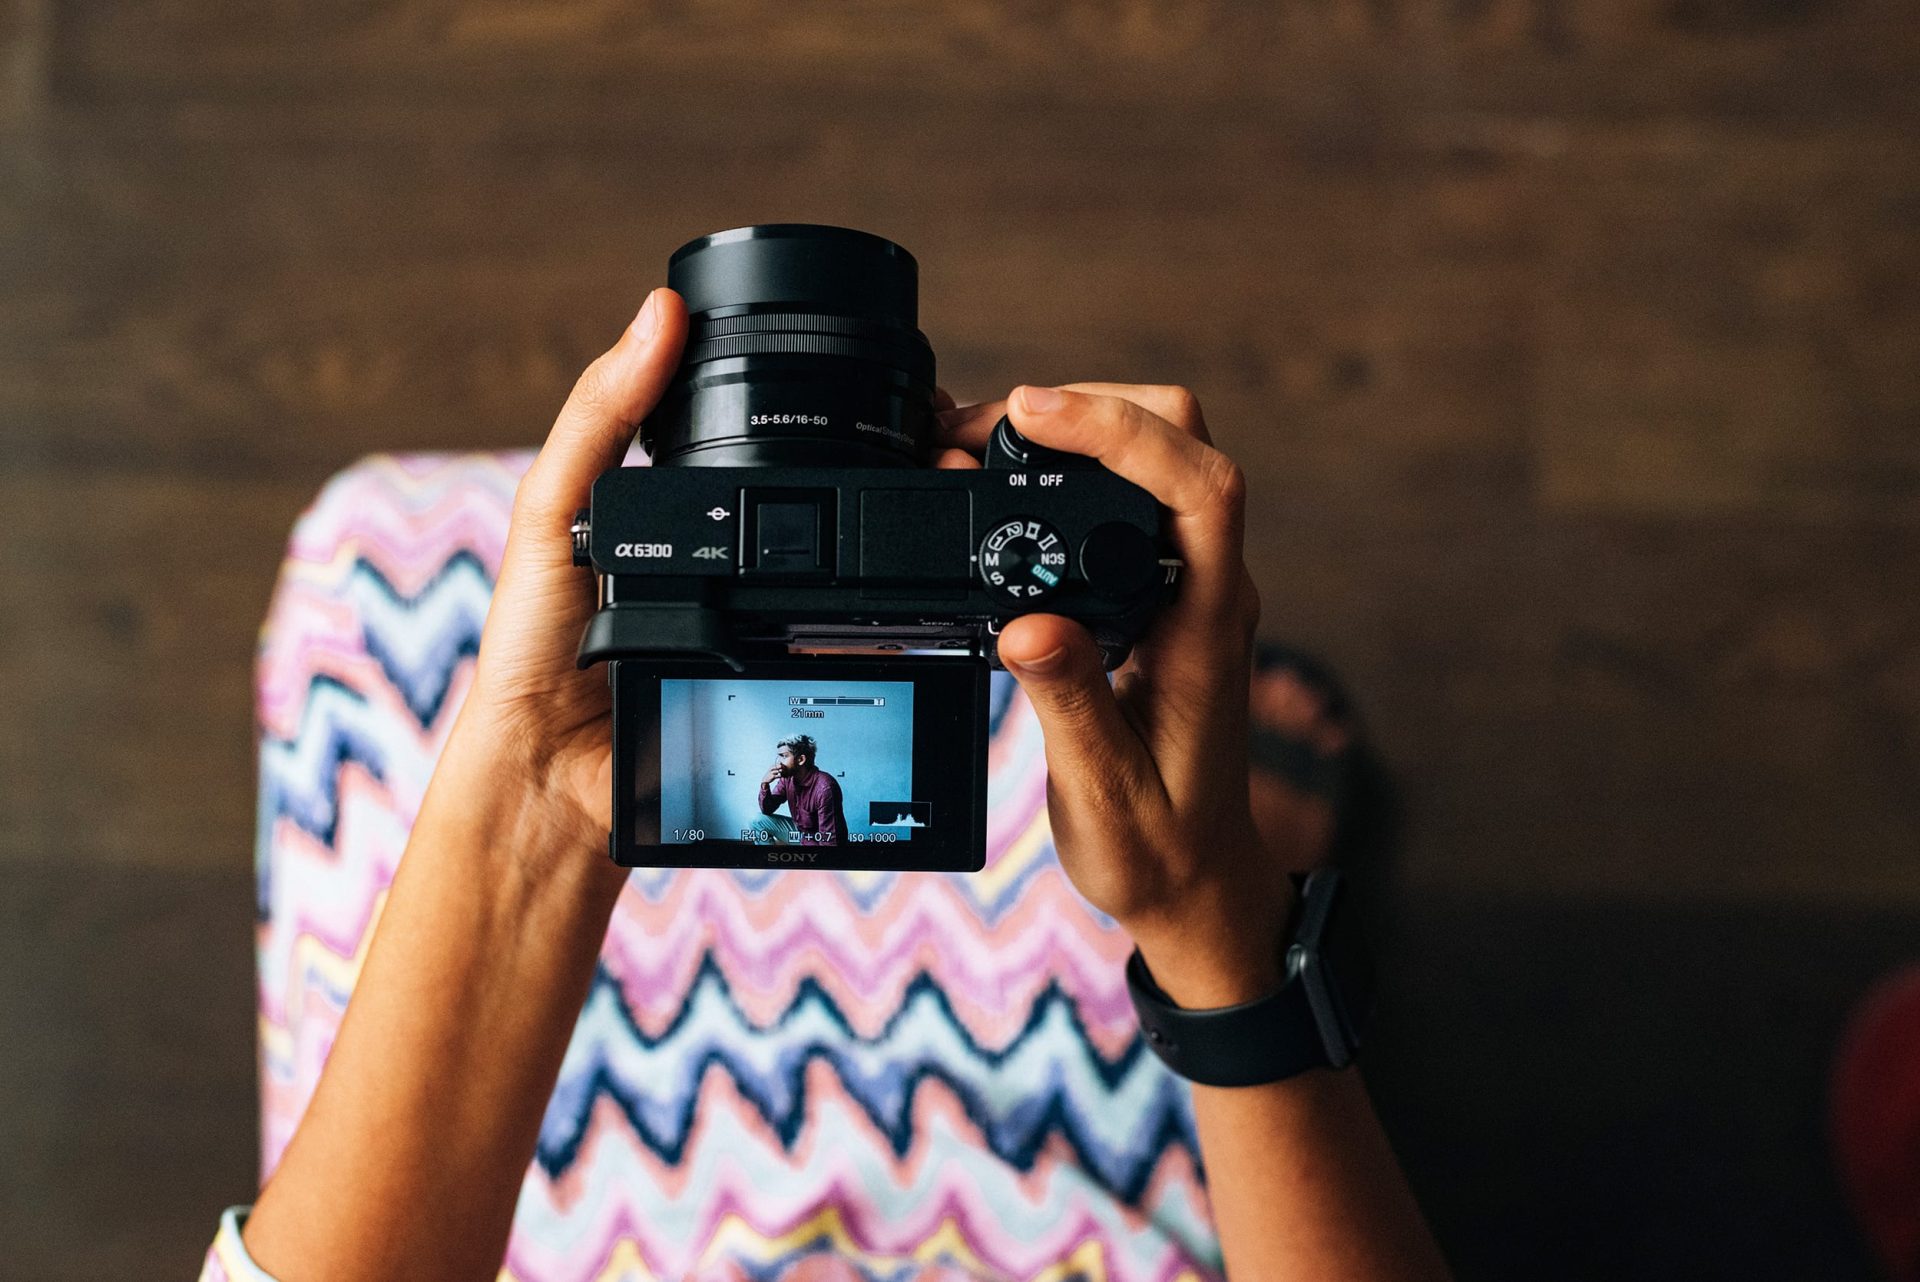
Best DSLR Camera Travel Accessories
Packing your DSLR (and lenses) safely is huge, but your other camera gear in your bag is just as important. Here’s are a few quality pieces of camera gear you can add to your DSLR packing list to take your travel pictures to the next level:
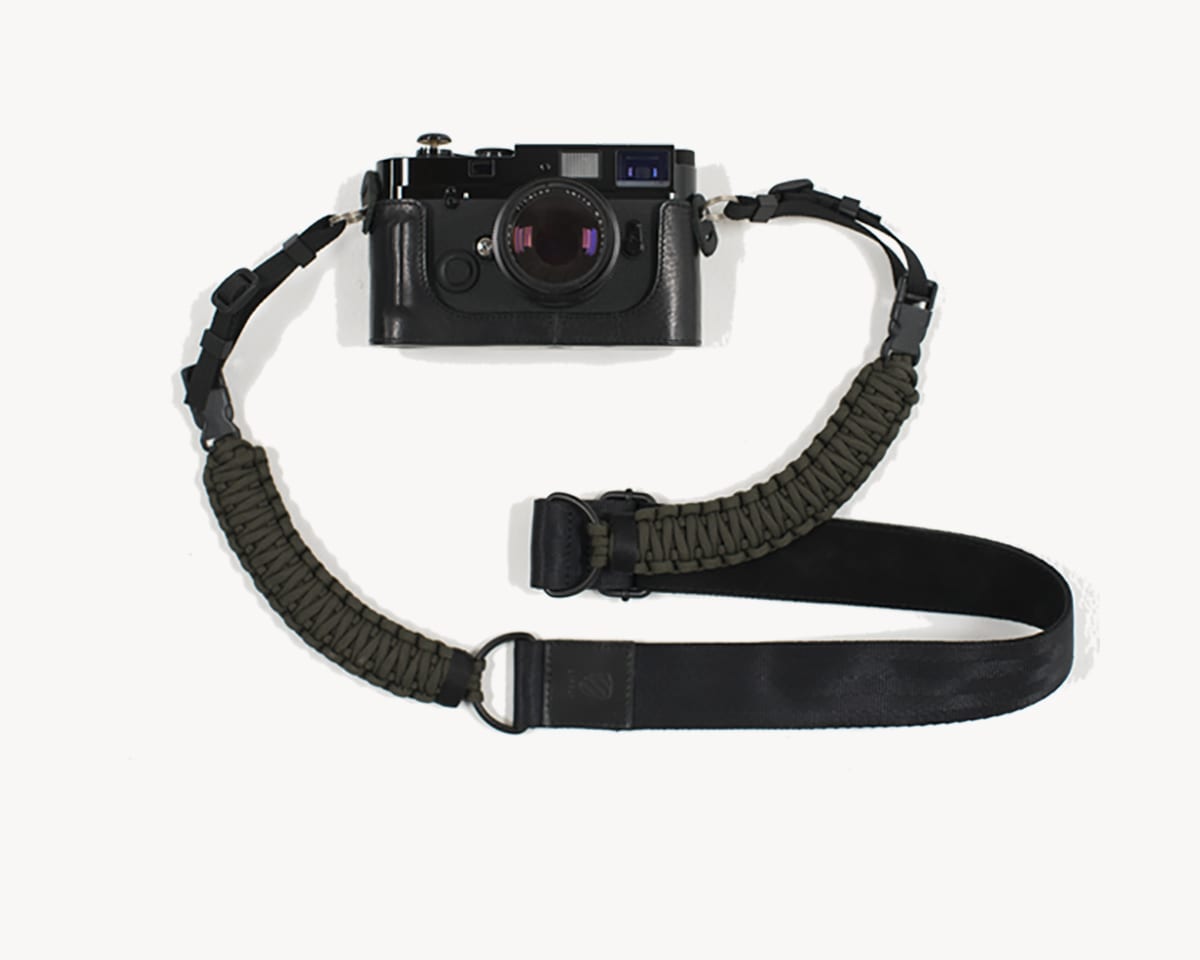
Langly Paracord Camera Strap ($35)
Invest in a neck strap (or wrist strap if you’re always shooting hand held) to keep your $3000 safe. Langly makes a great paracord strap for $35. It’s stylish as hell and functional to boot.
Pro Tip: If you hold your camera out as far as your neck strap allows then keep the tension tight you can shoot shake-free video without a tripod or gimbal. You can even pan smoothly from left to right. Try it. You’ll dig it.
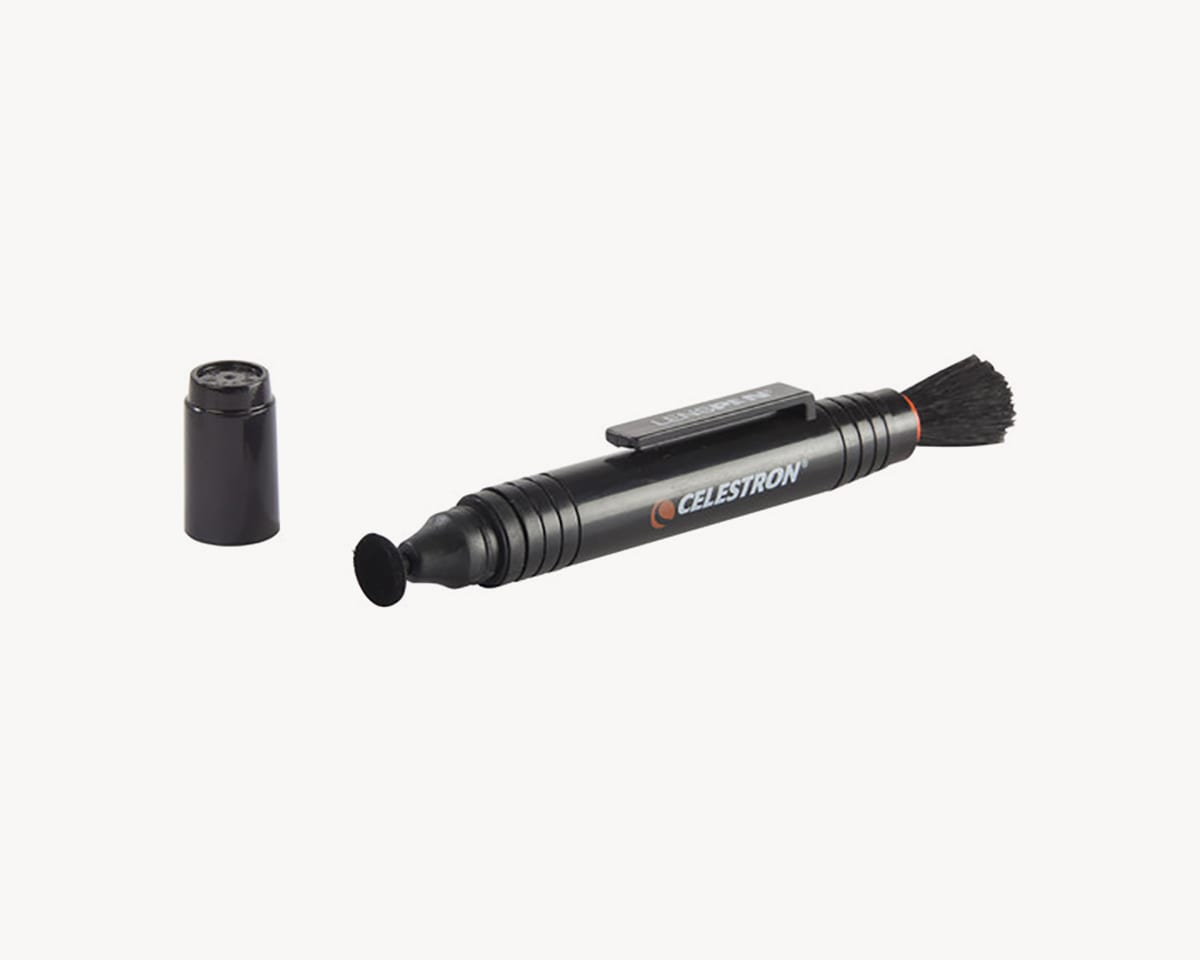
LensPen Lens Cleaning Pen ($9)
You don’t need a ton of stuff to clean your lenses. Snag one of these tried and true lens cleaning pens and you’re good to go.
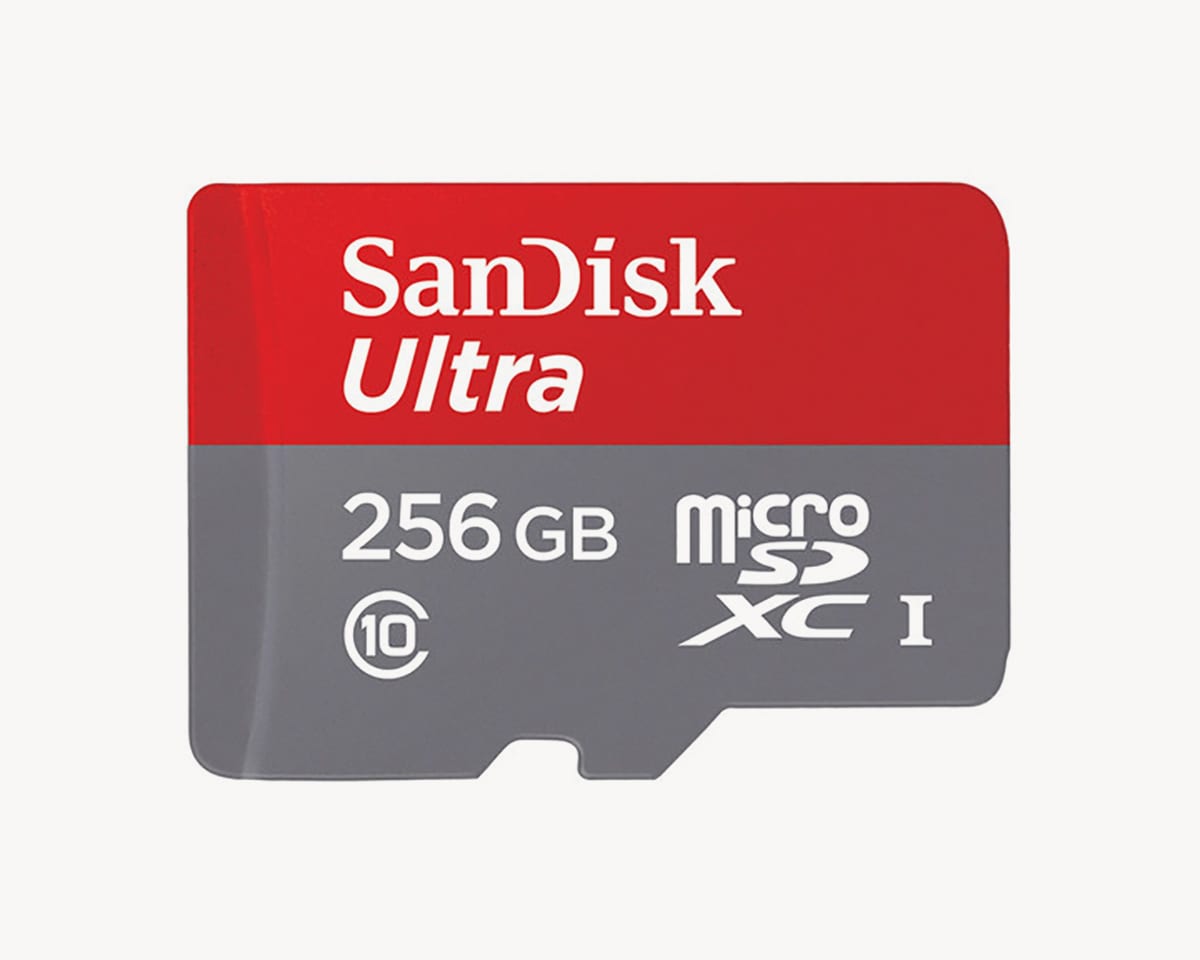
SanDisk 256GB Micro SD card (with converter) ($65)
You don’t need 10 SD cards for your trip. Splurge on a 256GB micro SD card ($65) and bring (2) smaller more affordable 64GB SD cards for backup. Get a micro SD card so you can use it for a GoPro or other action camera as well as a DSLR.
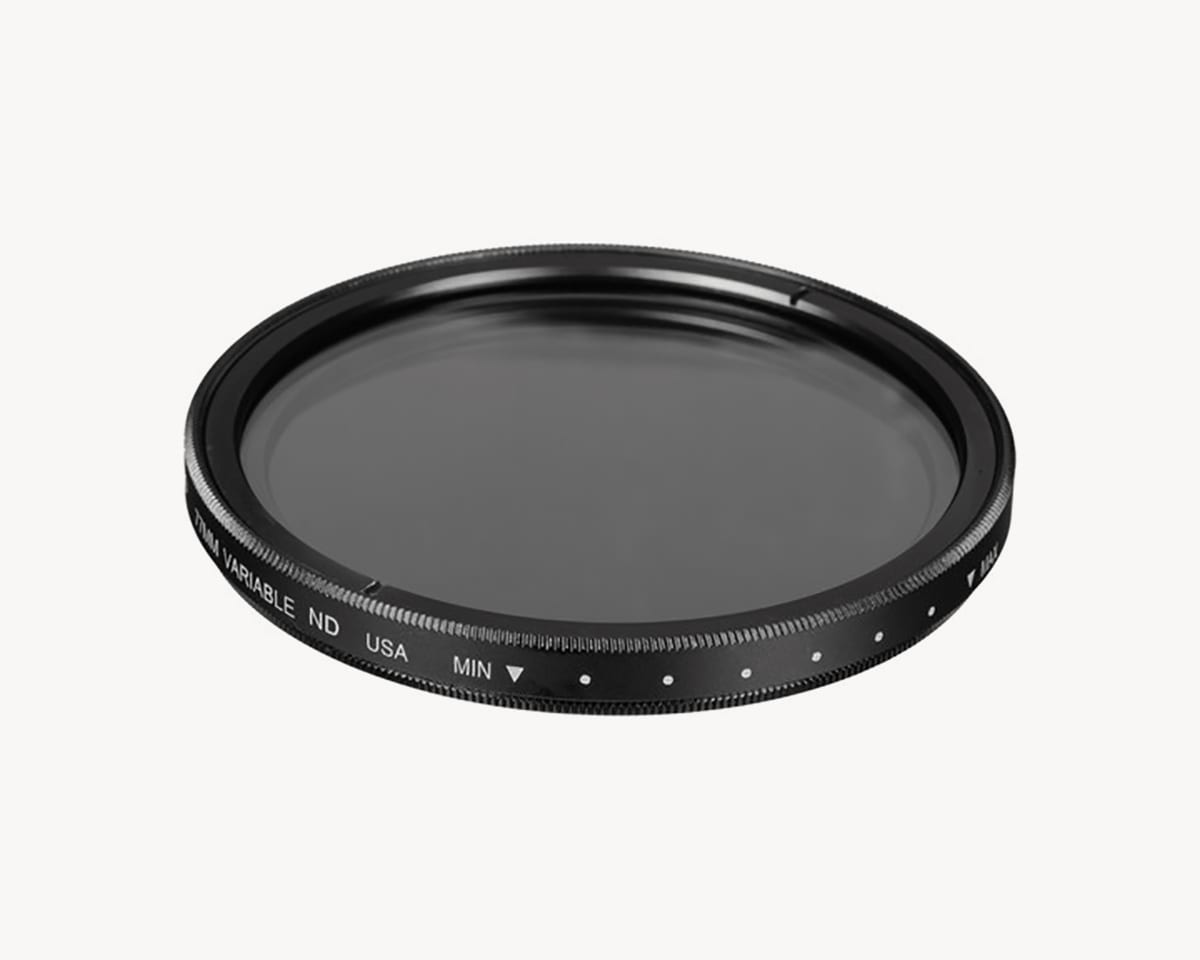
Tiffen 77mm Variable ND Filter ($125)
Tiffen makes quality ND filters with minimal vignetting and variable stops you’ll actually use. Long exposures and the ability to shoot in the middle of a sunny day are amazing when you’re only in town for a few hours. Keep it compact and get one filter to rule them all.
Packing a DSLR camera is a commitment. You have to travel with a carry on backpack and take care of every piece of gear in your camera bag. But no matter what you pack or which camera you shoot on, that the best way to capture the moment is by keeping your gear safe and snug and your bag as light as possible.
- Variable ND Filters are a game changer
- Invest in a quality 35mm fixed lens
- 24-85mm lenses are great for all types of travel photography
- Always take your camera and lens apart when you travel
- Silica gel bags are in the camera box for a reason. Protect against condensation and moisture
Ten articles before and after
The Best Mini Bluetooth Speakers for Travel – JUNYUAN Bags | Professional Bag Manufacturer
Money Belts: Do You Need One? – JUNYUAN Bags | Professional Bag Manufacturer
Packing Tips for Traveling with Musical Instruments – JUNYUAN Bags | Professional Bag Manufacturer
Is a Backpack a Personal Item? – JUNYUAN Bags | Professional Bag Manufacturer
Types of Backpacks – JUNYUAN Bags
Nylon vs Polyester: Which is Better for Backpacks? – JUNYUAN Bags | Professional Bag Manufacturer
Best Yoga Mats for Travel – JUNYUAN Bags | Professional Bag Manufacturer
Best Travel Water Bottle: A Comparison Guide – JUNYUAN Bags | Professional Bag Manufacturer


 Mobile/What's App/Wechat
 E-Mail
 ADD
ADD


